The Mini PC is an intel-based single-board computer (SBC). Mini PCs tend to be
slightly larger than other kinds of SBC. They also don't come with GPIO pins to connect
directly with electronic components.
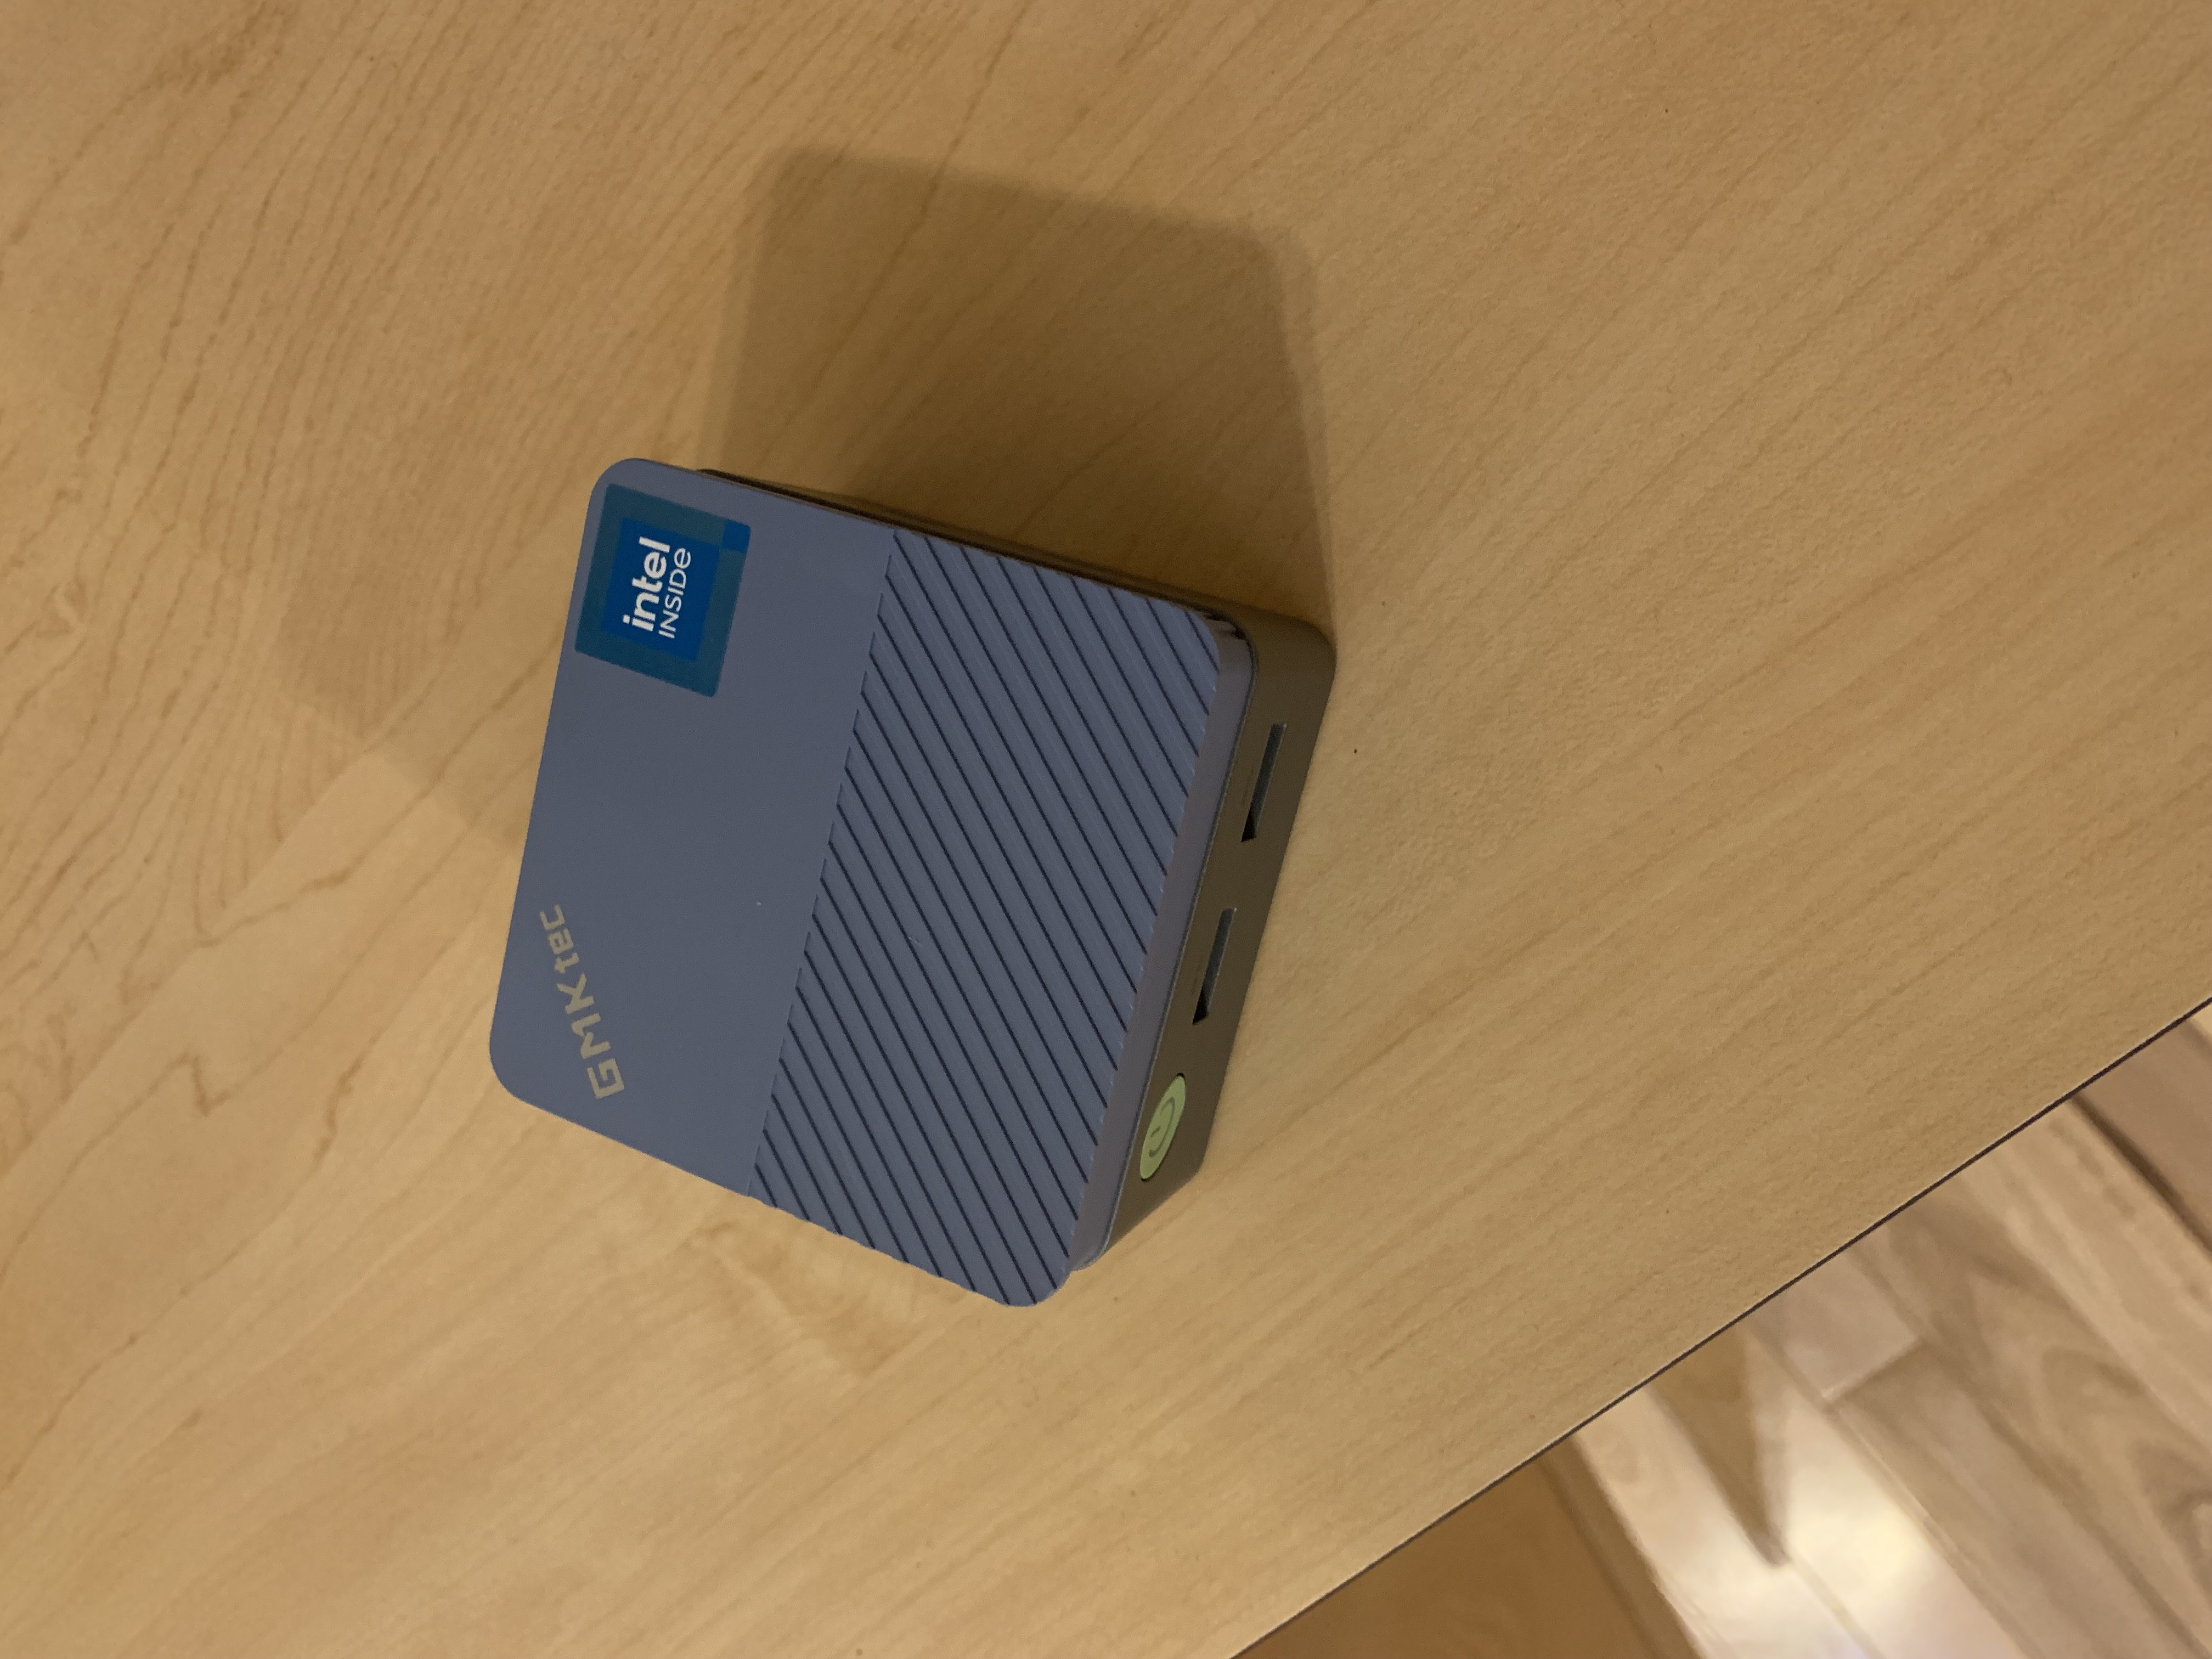
Below is an example Mini PC manufactured by GMKtec.
The typical Mini PC is slightly larger, but significantly more powerful than a Raspberry Pi. They are also more expensive. I bought
my Raspberry Pi 4 for about USD 100, but the Mini PC was about USD 150.
Here is a size comparison between a Mini PC, Raspberry Pi 4 and a gift card.
For the purposes of this website, one can do everything a Raspberry Pi can do with a Mini PC.
If you are using Windows, setting up your Mini PC as an IoT device begins with the usual Windows configuration. You will need
to set your time zone, connect to the network, etc.
However, after that,
there are certain things you may want to do. For example, it is inconvenient to have to log in to an IoT device, so you may want to
set your Mini PC to auto log in. You will pobably want to remote connect to your Mini PC rather than work directly with it.
Similarly, you may want to install certain software on your Mini PC like Git, because a lot of
the tools you will want will be found on GitHub.
Auto Log In
To do this, download and install autologon. Its use is self-explanatory.
Remote connect to Mini PC
To do this, downloadand install Tight VNC. You will need a TightVNC client for the machine you want to use
to connect to your Mini PC as well. Again, configuring both server (the Mini PC) and client were quite straightforward for me.
Obtain Git
Git can be found here. After installing Git, you will want to set it up so you can access Git from anywhere on
your Mini PC. Go to settings\advanced\Environment Variables (the button on the bottom right of the screen) and add the directory containing git.exe
into your system path.
Setting Up Your Mini PC to Connect to iOS
One use for a Mini PC is to transform any TV into an Apple TV. To do this, you will want to get AirPlay on your Mini PC.
To install AirPlay, do the following:
Install the Bonjour SDK onto your Mini PC. Bonjour is a library we will use to let the Mini PC tell your network about AirPlay services.
In c:\ProgramData\Microsoft\Windows\Start Menu\Programs\Startup, create a link to the airplay server executable.
The video
shows the result of completing the exercise.
Instructions are below.
Install Shairport
Shairport is a tool for sending music from an Apple-based music player to the Raspberry Pi. The instructions for installing Shairport come from This site.
Step
Command
What it does
1.
sudo apt-get update
sudo is the Linux command for running as a superuser. It is equivalent to "Run As Administrator" in Windows.
apt-get update refreshes a Linux OS's knowledge of the libraries it uses across applications.
It is common to run this command prior to any new software installation or upgrade.
Sets options for the compiler. If there are permission problems, put sudo in front.
6.
make
sudo make install
Compile and create executable for shairport.
7.
sudo systemctl enable shairport-sync
Sets shairport to automatically start when the Raspberry Pi reboots.
8.
Reboot the Raspberry Pi.
If everything worked, you should be able to open Apple Airplay on your iOS device to find the Raspberry Pi Shairport server. You should then be able to stream your Apple Music to the Raspberry Pi.
Install RPIPlay
Shairport only allows you to stream Apple Music through the Raspberry Pi. To share what's on the iOS device's screen, you need RPIPlay. The instructions for installing RPIPlay come from the
RPIPlay page on GitHub and these instructions
Step
Command
What it does
1.
sudo apt-get update
sudo is the Linux command for running as a superuser. It is equivalent to "Run As Administrator" in Windows.
apt-get update refreshes a Linux OS's knowledge of the libraries it uses across applications.
It is common to run this command prior to any new software installation or upgrade.
Create a directory called build to store the executable.
6.
cd build
Go to the directory build.
7.
cmake ..
make
Compile RPIPlay.
8.
Create a text file in /etc/systemd/system/rpiplay.service with the following content:
[Unit]
Description=An open-source AirPlay mirroring server for the Raspberry Pi
Documentation=https://github.com/FD-/RPiPlay
After=network.target
Set up the RPIPlay service. Once you do this, RPIPlay will start every time the Raspberry Pi reboots.
9.
Reboot the Raspberry Pi
Voice Recognition With The Mini PC
Python (which can be installed on a Mini PC) comes with some powerful tools, including voice recognition.
This exercise demonstrates the use of voice recognition to turn an Arduino's light on and off.
Note the voice recognizing machine does not have to be a Pi. It can be a PC or other computer with an operating system hooked to a microphone.